How to Create a USDT Wallet: A Complete Beginner’s Guide in 2026
A step-by-step guide to creating a USDT wallet in 2026. Learn about the different types of wallets, how to choose the right network, and how to keep your cryptocurrency secure.
How to Create a USDT Wallet: A Complete Beginner’s Guide in 2026
Creating a wallet to store USDT (Tether) is the first step to working with cryptocurrencies. Whether you plan to invest, exchange, or send funds, it’s important to choose and set up your wallet correctly.
In this guide, you’ll learn about the different types of USDT wallets, how to create one, and what to consider for security.
What is USDT and why do you need a wallet?
USDT (Tether) is a stablecoin pegged to the US dollar (1 USDT ≈ 1 USD). It is widely used for:
storing funds without volatility transferring money between exchanges paying for services trading cryptocurrencies
To store and send USDT, you need a crypto wallet.
Types of USDT wallets
Before creating a wallet, it’s important to understand the available options:
1. Mobile wallets
Apps for smartphones (e.g., Trust Wallet)
Pros:
convenience quick access
Cons:
dependent on your device 2. Online wallets (exchanges)
A wallet is created automatically when you register on an exchange
Pros:
no installation required easy to use
Cons:
controlled by a third party 3. Hardware wallets
Physical devices for storing cryptocurrency
Pros:
maximum security
Cons:
paid devices 4. Desktop wallets
Installed on a computer
Pros:
more control
Cons:
risk of malware/viruses Which networks support USDT
Before creating a wallet, you need to choose a network:
TRC-20 (TRON) — low fees ERC-20 (Ethereum) — high security BEP-20 (BNB Chain) — fast transactions
⚠️ The wallet address depends on the network. You cannot send USDT between different networks without conversion.
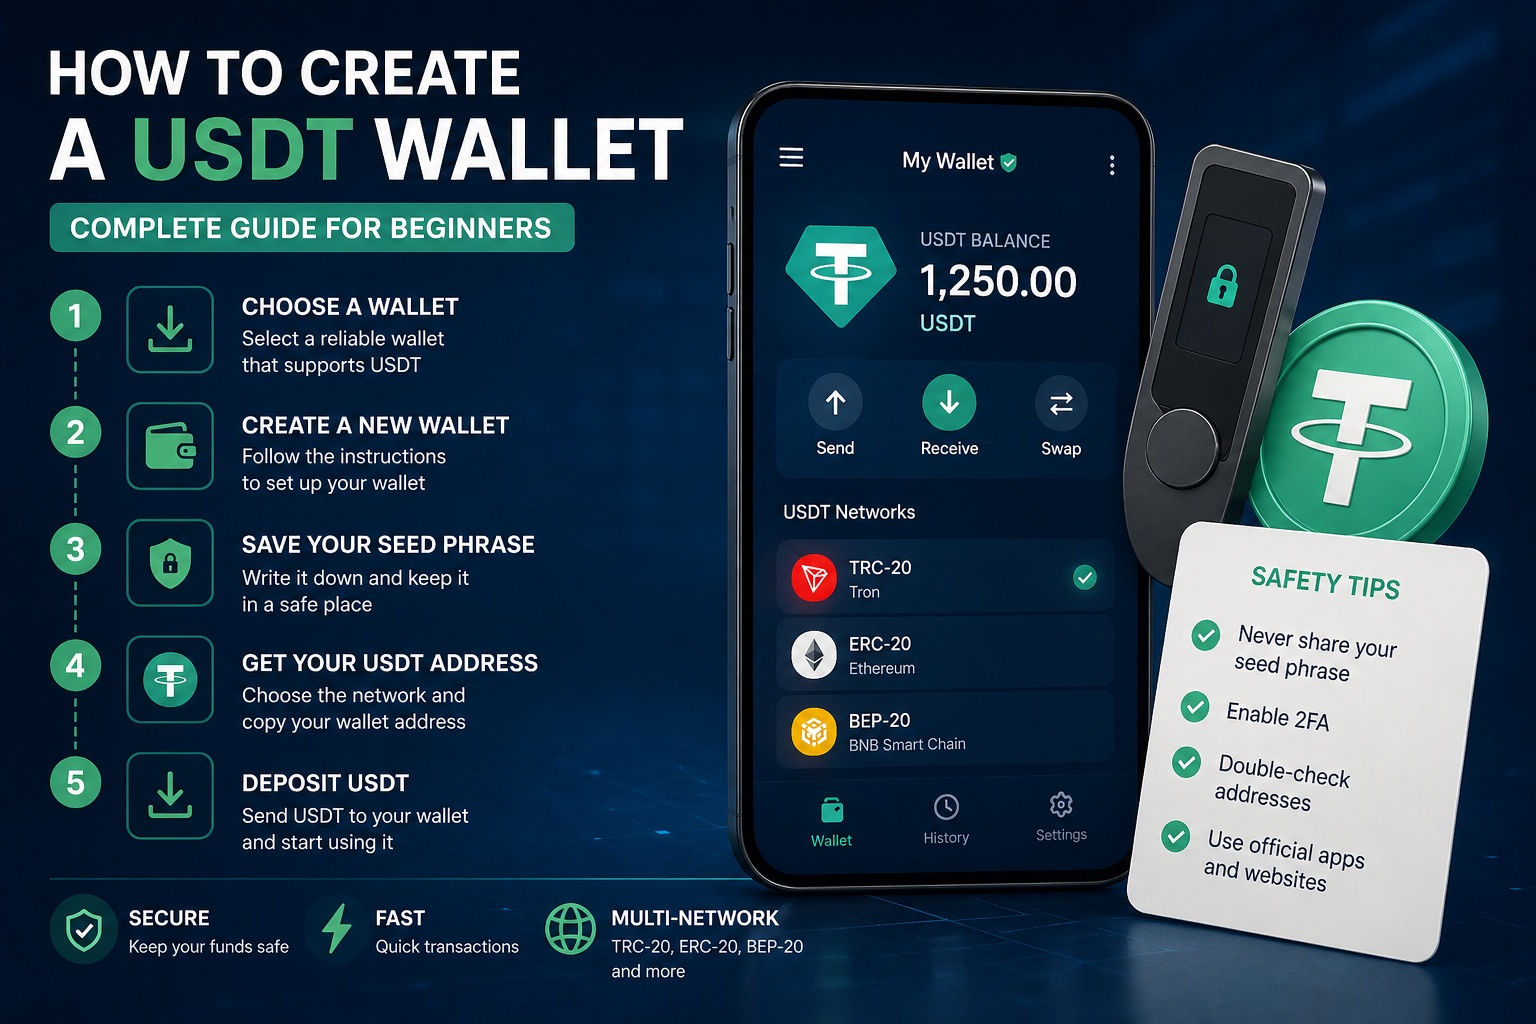
How to create a USDT wallet: step-by-step guide Step 1. Choose a wallet
For beginners, the best options are:
a mobile wallet (e.g., Trust Wallet) or a crypto exchange Step 2. Install the application
Download the wallet from official sources:
App Store Google Play Step 3. Create a new wallet
When you launch the app:
click “Create Wallet” receive your seed phrase (12–24 words) Step 4. Save your seed phrase
This is the most important step:
write it down on paper do not store it on your phone never share it with anyone Step 5. Add USDT
In your wallet:
find USDT select the desired network (e.g., TRC-20) copy your wallet address Step 6. Fund your wallet
You can:
buy USDT receive a transfer swap other cryptocurrencies How to choose the best USDT wallet
Pay attention to:
support for required networks (TRC-20, ERC-20) security features user-friendly interface backup and recovery options Wallet security tips
To avoid losing funds:
never share your seed phrase enable two-factor authentication (2FA) double-check wallet addresses before sending avoid installing suspicious apps Common beginner mistakes sending USDT to the wrong network losing the seed phrase using fake wallets storing all funds on exchanges Conclusion
Creating a USDT wallet is a simple process, but it requires attention to detail. Choosing the right network and following security best practices will help you protect your funds and avoid costly mistakes.